Getting Started with Access Lists
This guide will help you:
- Create an Access List
- Assign a member to it
- Verify permissions granted through the list membership
Prerequisites
-
A running Teleport Enterprise cluster version 17.0.0-dev or above. If you want to get started with Teleport, sign up for a free trial or set up a demo environment.
-
The
tctlandtshclients.Details
Installing
tctlandtshclients- Mac
- Windows - Powershell
- Linux
Download the signed macOS .pkg installer for Teleport, which includes the
tctlandtshclients:curl -O https://cdn.teleport.dev/teleport-17.0.0-dev.pkgIn Finder double-click the
pkgfile to begin installation.dangerUsing Homebrew to install Teleport is not supported. The Teleport package in Homebrew is not maintained by Teleport and we can't guarantee its reliability or security.
curl.exe -O https://cdn.teleport.dev/teleport-v17.0.0-dev-windows-amd64-bin.zipUnzip the archive and move the `tctl` and `tsh` clients to your %PATH%
NOTE: Do not place the `tctl` and `tsh` clients in the System32 directory, as this can cause issues when using WinSCP.
Use %SystemRoot% (C:\Windows) or %USERPROFILE% (C:\Users\<username>) instead.
All of the Teleport binaries in Linux installations include the
tctlandtshclients. For more options (including RPM/DEB packages and downloads for i386/ARM/ARM64) see our installation page.curl -O https://cdn.teleport.dev/teleport-v17.0.0-dev-linux-amd64-bin.tar.gztar -xzf teleport-v17.0.0-dev-linux-amd64-bin.tar.gzcd teleportsudo ./installTeleport binaries have been copied to /usr/local/bin
The
tctlandtshclients must be at most one major version behind your Teleport cluster version. Send a GET request to the Proxy Service at/v1/webapi/pingand use a JSON query tool to obtain your cluster version:curl https://example.teleport.sh/v1/webapi/ping | jq -r '.server_version'17.0.0-dev
- To check that you can connect to your Teleport cluster, sign in with
tsh login, then verify that you can runtctlcommands using your current credentials. For example, run the following command, assigning teleport.example.com to the domain name of the Teleport Proxy Service in your cluster and email@example.com to your Teleport username:If you can connect to the cluster and run thetsh login --proxy=teleport.example.com --user=email@example.comtctl statusCluster teleport.example.com
Version 17.0.0-dev
CA pin sha256:abdc1245efgh5678abdc1245efgh5678abdc1245efgh5678abdc1245efgh5678
tctl statuscommand, you can use your current credentials to run subsequenttctlcommands from your workstation. If you host your own Teleport cluster, you can also runtctlcommands on the computer that hosts the Teleport Auth Service for full permissions. - A user with the preset
editorrole, which will have permissions to create Access Lists.
Step 1/4. Setting up the Application Service on the cluster for testing
One of the easiest ways to get resources on the cluster for testing is to set up a Teleport Application Service
instance with the debugging application enabled. To do this, add the following config to your teleport.yaml
configuration:
app_service:
  enabled: true
  debug_app: true
And restart Teleport. The "dumper" app should show up in the resource list.
Step 2/4. Create a test user
We need to create a simple test user that has only the requester role, which has no default access
to anything within a cluster. This user will only be used for the purposes of this guide, so you may use
another user if you so choose. If you would rather use your own user, skip to the next step.
Navigate to the management pane and select "Users." Click on "Create New User" and fill in test-user as
the name and select requester as the role.
Click "Save," and then navigate to the provided URL in order to set up the credentials for your test user. Try logging into the cluster with the test user to verify that no resources show up in the resources page.
Step 3/4. Create an Access List
Next, we'll create a simple Access List that will grant the access role to its members.
Login as the administrative user mentioned in the prerequisites. Click on "Add New" in the left pane, and then "Create an Access List."
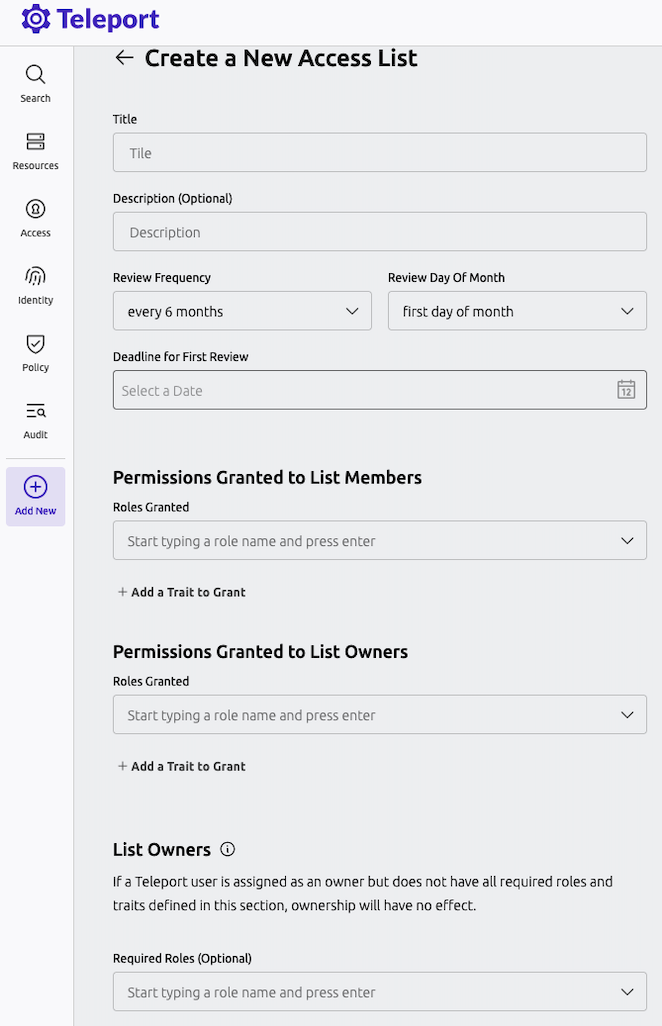
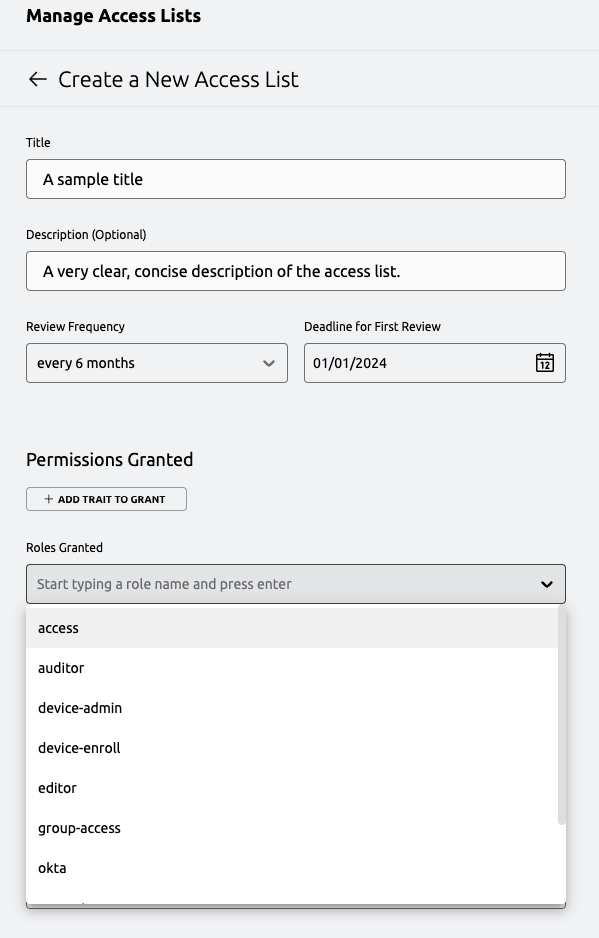
Here, fill in a title, description, and grant the access role. Select a date in the future for the next
review date.
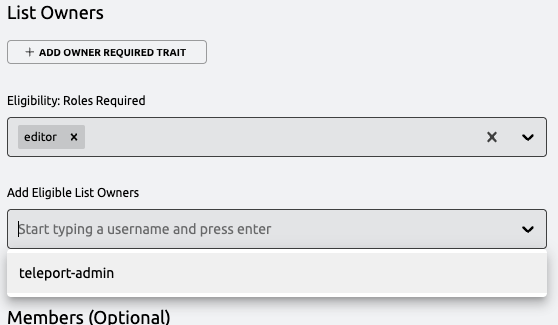
Under "List Owners" select editor as a required role, then add your administrative user under "Add
Eligible List Owners." By selecting editor as a required role, this will ensure that any owner of the list
must have the editor role in order to actually manage the list. If the user loses this role later, they will
not be able to manage the list, though they will still be reflected as an owner.
Under "Members" select requester as a required role, then add your test user to the Access List. Similar to
the owner requirements, this will ensure that any member of the list must have the requester role in order to
be granted the access described in this list. If the user loses this role later, they will not be granted the
roles or traits described in the Access List.
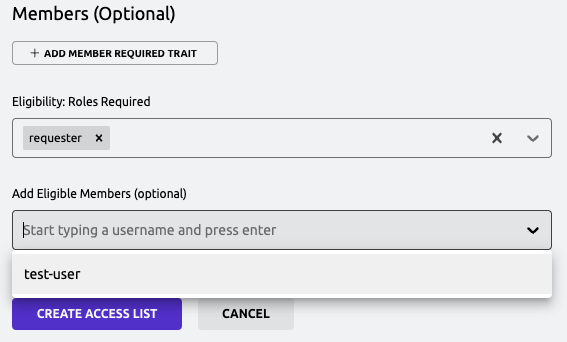
Finally, click "Create Access List" at the bottom of the page.
Step 4/4. Login as the test user
Again, login as the test user. When logging in now, you should now see the dumper application contained within the cluster, and should be able to interact with it as expected.
Next Steps
- Familiarize yourself with the CLI tooling available for managing Access Lists in the reference.
- Learn how to work with nested Access Lists in the nested Access Lists guide.