Running Teleport on IBM Cloud
This guide describes how to set up Teleport on IBM Cloud.
How it works
We will use the following services to deploy Teleport on IBM cloud:
- Compute: IBM Cloud Kubernetes Service
to deploy Teleport using the
teleport-clusterHelm chart - Storage: IBM Cloud Databases for PostgreSQL to store the Teleport cluster state, and the Teleport audit events (see backends reference for more details).
- Storage: IBM Cloud Object Storage to store the Teleport session recordings.
- Network: IBM Cloud DNS Services to route Teleport
Prerequisites
To follow this guide you will need:
- An IBM Cloud account
- An IBM Kubernetes cluster with functional networking (nodes must be able to access the Internet and pull public images)
kubectlandhelminstalled and connected to your IBM Kubernetes cluster- The
ibmcloudCLI tool installed, logged in as your IBM Cloud user - A domain you will use for the Teleport cluster, in this guide we'll use
teleport.example.com - A TLS certificate for the domain
teleport.example.com(and*.teleport.example.comif you want to use App Access)
Step 1/7. Create the Postgres database
In this step, we'll create the PostgreSQL database Teleport will use as a backend.
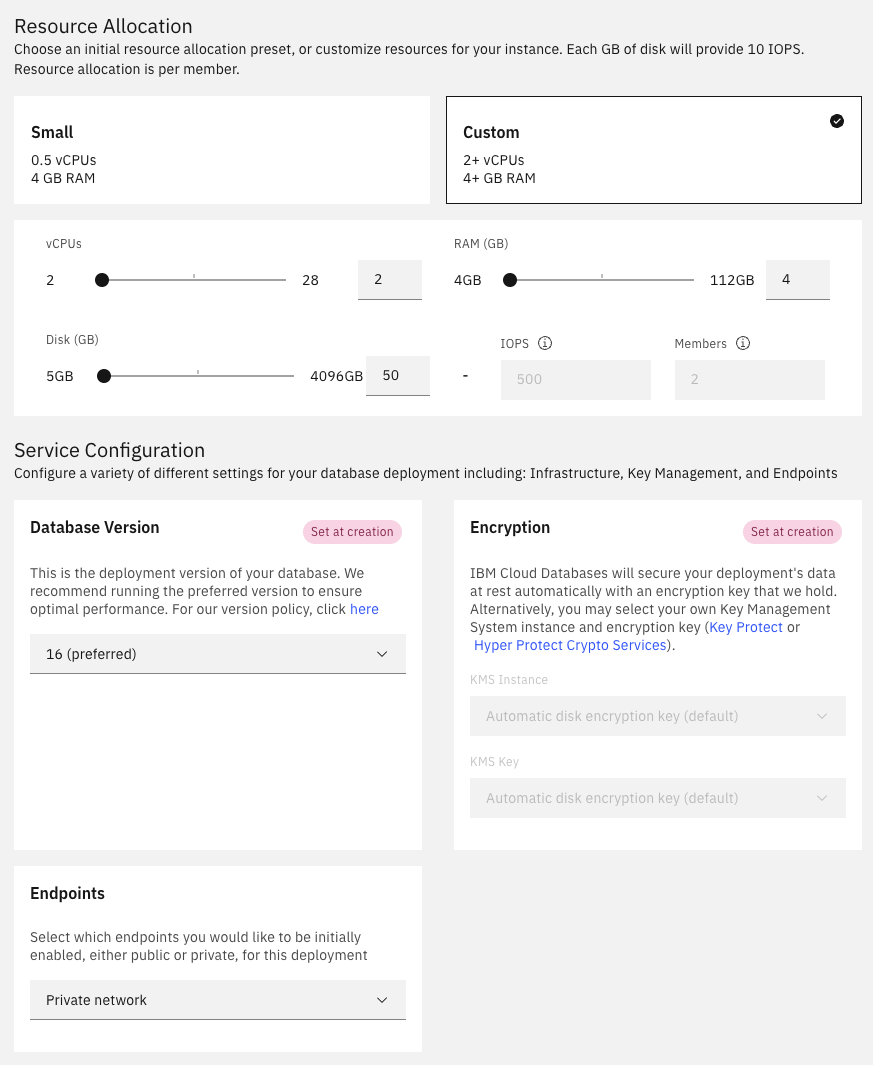
Select Create Resource, search PostgreSQL, and select Databases for PostgreSQL. Fill the PostgreSQL creation form with the following settings:
- IBM Cloud-hosted PostgreSQL
- at least 2 vCPUs
- at least 4 GiB of memory
- at least 50 GiB of storage
- Postgres version 16
- Endpoints: Private
- Name: in this example, the database deployment name is
teleport-backend
Wait until the provisioning is over and the database ready. This can take several minutes.
On the Postgres resource page:
- download the database TLS certificate, this will be used by Teleport to connect to Postgres
- copy the database hostname and port, we will need them to configure Teleport
Step 2/7. Create the storage bucket
In this step, we'll create the object storage backend Teleport will use to store its session recordings.
Select Create Resource, search object, and select Object Storage. Fill the storage creation form with the following settings:
- IBM Cloud-hosted storage
- Standard pricing plan
Then, chose Create bucket, Create a Custom Bucket, and fill the bucket creation form with the following settings:
- Regional Resiliency
- Smart Tier
- Disabled Object Versioning
- (Optional) configure your retention policy. This configures how long session recordings are kept. Leave empty for infinite retention.
Open the bucket Configuration and save the direct endpoint, this will be used to configure Teleport to use the bucket.
Navigate the object storage instance and create a new service credential with HMAC:
Open the credentials and save the content of the access_key_id and secret_access_key fields.
This will be needed later to authorize Teleport to read and write session recordings in the bucket.
Step 3/7. Configure the Postgres database
In this step we will configure two users on the postgres database:
- a
teleportuser that will create and own theteleport_backendandteleport_auditdatabases - a
repluser, which is the only user allowed to read the stream of database changes. Teleport uses it to listen for database changes and synchronize the multiple Teleport Auth Service replicas.
Open a terminal and:
- install the
ibmclouddatabase pluginibmcloud install plugin cdb - recover the postgresql database deployment name
ibmcloud cdb deployments
Name Location Stateteleport-backend ca-tor active - configure the WAL settings of the database
ibmcloud cdb deployment-configuration teleport-backend '{"wal_level":"logical", "max_replication_slots":30, "max_wal_senders":30}'
- configure a password for the replication user
generate a random password
export POSTGRES_PASSWORD="$(tr -dc A-Za-z0-9_ < /dev/urandom | head -c 32 )"display the password
echo "$POSTGRES_PASSWORD"set the password
ibmcloud cdb deployment-user-password teleport-backend repl "$POSTGRES_PASSWORD" - create a
teleportuser and set its passwordset the same password as the replication user
ibmcloud cdb deployment-user-create teleport-backend teleport "$POSTGRES_PASSWORD"
Step 4/7. Prepare the Kubernetes cluster
In this step we will create the Kubernetes resources the Teleport Helm chart will use:
- Create the namespace
kubectl create ns teleport-clusternamespace/teleport-cluster created
- (for enterprise) create the Teleport license
kubectl -n teleport-cluster create secret generic license --from-file=license.pem
secret/license created - Create the secret containing the TLS certificates
kubectl -n teleport-cluster create secret tls teleport-tls --cert=/path/to/cert/file --key=/path/to/key/file
secret/teleport-tls created - Create the secret containing the bucket credentials
kubectl -n teleport-cluster create secret generic bucket-creds \  --from-literal=AWS_ACCESS_KEY_ID=<put the key id> \  --from-literal=AWS_SECRET_ACCESS_KEY=<put the secret access key here>
secret/bucket-creds created - Create the configmap containing the PostgreSQL CA certificate
kubectl -n teleport-cluster create configmap postgres-ca \  --from-file=cacert.pem=postgres-certs.pem
configmap/postgres-ca created - Create the secret containing the PostgreSQL password
kubectl -n teleport-cluster create secret generic postgres-pass \  --from-literal=password="$POSTGRES_PASSWORD"
secret/postgres-pass created
Step 5/7. Configure and deploy Teleport
In this step we will deploy a Teleport cluster with the teleport-cluster Helm chart.
Create the following values.yaml file and replace the placeholders:
chartMode: standalone
clusterName: teleport.example.com # replace this with your cluster domain
persistence:
enabled: false
proxyListenerMode: multiplex
auth:
teleportConfig:
teleport:
storage:
type: postgresql
# replace the database address and port with the values you saved during the PostgreSQL creation
# the result should look like: "postgres://teleport@60d25e94-edf5-4494-a6cc-5fcae28aa7c2.c0v4ph4r0ah9ul9tr6o0.databases.appdomain.cloud:31766/teleport_backend?sslmode=verify-full&sslrootcert=/var/lib/postgres-ca/cacert.pem"
conn_string: postgres://teleport@<DATABASE ADDRESS>:<DATABASE PORT>/teleport_backend?sslmode=verify-full&sslrootcert=/var/lib/postgres-ca/cacert.pem
# replace the database address and port with the values you saved during the PostgreSQL creation
change_feed_conn_string: postgresql://repl@<DATABASE ADDRESS>:<DATABASE PORT>/teleport_backend?sslmode=verify-full&sslrootcert=/var/lib/postgres-ca/cacert.pem
audit_events_uri:
# replace the database address and port with the values you saved during the PostgreSQL creation
- "postgres://teleport@<DATABASE ADDRESS>:<DATABASE PORT>/teleport_audit?sslmode=verify-full&sslrootcert=/var/lib/postgres-ca/cacert.pem#disable_cleanup=false&retention_period=8766h"
# replace the bucket name and endpoint with the values you saved during the bucket creation
audit_sessions_uri: 's3://<BUCKET_NAME>/readonly/records?endpoint=<DIRECT ENDPOINT>®ion=ibm'
extraVolumes:
- name: postgres-ca
configMap:
name: postgres-ca
extraVolumeMounts:
- name: postgres-ca
mountPath: /var/lib/postgres-ca
readOnly: true
extraEnv:
- name: AWS_ACCESS_KEY_ID
valueFrom:
secretKeyRef:
name: bucket-creds
key: AWS_ACCESS_KEY_ID
optional: false
- name: AWS_SECRET_ACCESS_KEY
valueFrom:
secretKeyRef:
name: bucket-creds
key: AWS_SECRET_ACCESS_KEY
optional: false
- name: PGPASSWORD
valueFrom:
secretKeyRef:
name: postgres-pass
key: password
optional: false
tls:
existingSecretName: teleport-tls
highAvailability:
replicaCount: 2
Allow Helm to install charts that are hosted in the Teleport Helm repository:
helm repo add teleport https://charts.releases.teleport.dev
"teleport" has been added to your repositories
Update the local chart cache so you can upgrade to all available releases:
helm repo update
...Successfully got an update from the "teleport" chart repository
Create a release from the chart:
helm upgrade --install -n teleport-cluster teleport teleport/teleport-cluster --version "TODO REPLACE ME" -f values.yaml
Release "teleport" does not exist. Installing it now.NAME: teleportLAST DEPLOYED: Mon Nov 11 16:09:15 2024NAMESPACE: teleport-clusterSTATUS: deployedREVISION: 1TEST SUITE: None
Finally, validate that pods are running:
kubectl -n teleport-cluster get pods
Step 6/7. Create the DNS entry
Recover the teleport cluster IP address:
kubectl get -n teleport-cluster services
NAME                TYPE           CLUSTER-IP      EXTERNAL-IP                          PORT(S)             AGEteleport            LoadBalancer   172.21.130.11   45a6ca70-ca-tor.lb.appdomain.cloud   443:31421/TCP       4d2hteleport-auth       ClusterIP      172.21.109.96   <none>                               3025/TCP,3026/TCP   4d2hteleport-auth-v16   ClusterIP      None            <none>                               <none>              4d2hteleport-auth-v17   ClusterIP      None            <none>                               <none>              4d2h
Create a CNAME DNS entry pointing to the service loadbalancer. In out example, the DNS entry should look like:
teleport.example.com. 300 IN CNAME 45a6ca70-ca-tor.lb.appdomain.cloud.
Wait for the domain name change to propagate, this can take a few minutes. After propagation, you should be able to resolve your domain:
dig teleport.example.com
;; ANSWER SECTION:teleport.example.com. 300 IN	CNAME	45a6ca70-ca-tor.lb.appdomain.cloud.45a6ca70-ca-tor.lb.appdomain.cloud. 120	IN A	163.66.86.16145a6ca70-ca-tor.lb.appdomain.cloud. 120	IN A	163.74.84.35
Step 7/7. Check that everything is working
In this step you will create a new user and access the web UI:
- create a new Teleport user:
kubectl exec -it -n teleport-cluster deployment/teleport-auth -- tctl users add myuser --roles=editor,auditor,access
User "myuser" has been created but requires a password. Share this URL with the user to complete user setup, link is valid for 1h:https://teleport.example.com:443/web/invite/... - open the registration link and follow the registration wizard
- your Teleport cluster is ready
Next Steps
As next steps you can:
- enroll servers, Kubernetes clusters, databases, applications, or Windows desktops into your Teleport cluster
- check the
teleport-clusterHelm reference for a list of supported values - use [the Teleport Kubernetes operator(../../admin-guides/infrastructure-as-code/teleport-operator/teleport-operator.mdx) to control Teleport resources