Access Requests with ServiceNow
With Teleport's ServiceNow integration, engineers can access the infrastructure they need to resolve incidents quickly, without granting longstanding admin permissions that can become a vector for attacks.
Teleport's ServiceNow integration allows you to treat Teleport Access Requests as ServiceNow incidents, notify the appropriate on-call team, and approve or deny the requests via Teleport. You can also configure the plugin to approve Access Requests automatically if the user making the request is in a specific on-call rotation.
This guide will explain how to set up Teleport's Access Request plugin for ServiceNow.
Prerequisites
-
A running Teleport Enterprise cluster version 17.5.2 or above. If you do not have one, read Get Started with Teleport.
-
The
tctlandtshclients.Details
Installing
tctlandtshclients- Mac
- Windows - Powershell
- Linux
Download the signed macOS .pkg installer for Teleport, which includes the
tctlandtshclients:curl -O https://cdn.teleport.dev/teleport-17.5.2.pkgIn Finder double-click the
pkgfile to begin installation.dangerUsing Homebrew to install Teleport is not supported. The Teleport package in Homebrew is not maintained by Teleport and we can't guarantee its reliability or security.
curl.exe -O https://cdn.teleport.dev/teleport-v17.5.2-windows-amd64-bin.zipUnzip the archive and move the `tctl` and `tsh` clients to your %PATH%
NOTE: Do not place the `tctl` and `tsh` clients in the System32 directory, as this can cause issues when using WinSCP.
Use %SystemRoot% (C:\Windows) or %USERPROFILE% (C:\Users\<username>) instead.
All of the Teleport binaries in Linux installations include the
tctlandtshclients. For more options (including RPM/DEB packages and downloads for i386/ARM/ARM64) see our installation page.curl -O https://cdn.teleport.dev/teleport-v17.5.2-linux-amd64-bin.tar.gztar -xzf teleport-v17.5.2-linux-amd64-bin.tar.gzcd teleportsudo ./installTeleport binaries have been copied to /usr/local/bin
The
tctlandtshclients must be at most one major version behind your Teleport cluster version. Send a GET request to the Proxy Service at/v1/webapi/pingand use a JSON query tool to obtain your cluster version:curl https://example.teleport.sh/v1/webapi/ping | jq -r '.server_version'17.5.2
- An ServiceNow account with access to read and write to and from the 'incident' table.
- To check that you can connect to your Teleport cluster, sign in with
tsh login, then verify that you can runtctlcommands using your current credentials. For example, run the following command, assigning teleport.example.com to the domain name of the Teleport Proxy Service in your cluster and email@example.com to your Teleport username:If you can connect to the cluster and run thetsh login --proxy=teleport.example.com --user=email@example.comtctl statusCluster teleport.example.com
Version 17.5.2
CA pin sha256:abdc1245efgh5678abdc1245efgh5678abdc1245efgh5678abdc1245efgh5678
tctl statuscommand, you can use your current credentials to run subsequenttctlcommands from your workstation. If you host your own Teleport cluster, you can also runtctlcommands on the computer that hosts the Teleport Auth Service for full permissions.
Step 1/4. Create services
We will configure the ServiceNow plugin to create an incident when certain users create an Access Request.
Step 2/4. Define RBAC resources
The Teleport ServiceNow plugin works by receiving Access Request events from the Teleport Auth Service and, based on these events, interacting with the ServiceNow API.
Before making the Access Request ensure the user making the request has
the requester role.
For the plugin to know which ServiceNow rotations to check for the
auto approval flow, the rotation you wish users to be checked against
must be included in one of the requesting user's roles. To do so, add the teleport.dev/schedules annotation as shown in the following example:
kind: role
version: v5
metadata:
  name: YOUR_ROLE_NAME_HERE
spec:
  allow:
    request:
      roles: ['editor']
      thresholds:
        - approve: 1
          deny: 1
      annotations:
        teleport.dev/schedules:
        - YOUR_SERVICENOW_ROTA_ID_HERE
You can also create and edit roles using the Web UI. Go to Access -> Roles and click Create New Role or pick an existing role to edit.
To retrieve the ServiceNow rotation ID, navigate to the group record of the ServiceNow group the rotation belongs to and right click on header, then click 'Select copy sys_id' to copy the ID.
Then using the ServiceNow endpoint /api/now/on_call_rota/workbench/group/{groupSysId}
retrieve the group's on-call rota information.
Select the value of the desired 'rota' from the response.
Step 3/4. Configure the ServiceNow plugin
At this point, you have a ServiceNow user that the ServiceNow plugin will use to connect to the ServiceNow API. To configure the plugin to use this user navigate to Management -> Integrations -> Enroll New Integration.
The plugin requires credentials that can read and write to the incident table.
The "Close Code" specified here will be the one used when resolving ServiceNow incidents. The "Caller" will be the username of the requesting Teleport user. (The "Caller" field will only be filled if there is an existing ServiceNow user of the same name.)
Step 4/4. Test the ServiceNow plugin
Create an Access Request
As the Teleport user myuser, create an Access Request for the editor role:
- As an Admin
- As a User
- From the Web UI
A Teleport admin can create an Access Request for another user with tctl:
tctl request create myuser --roles=editor
Users can use tsh to create an Access Request and log in with approved roles:
tsh request create --roles=editorSeeking request approval... (id: 8f77d2d1-2bbf-4031-a300-58926237a807)
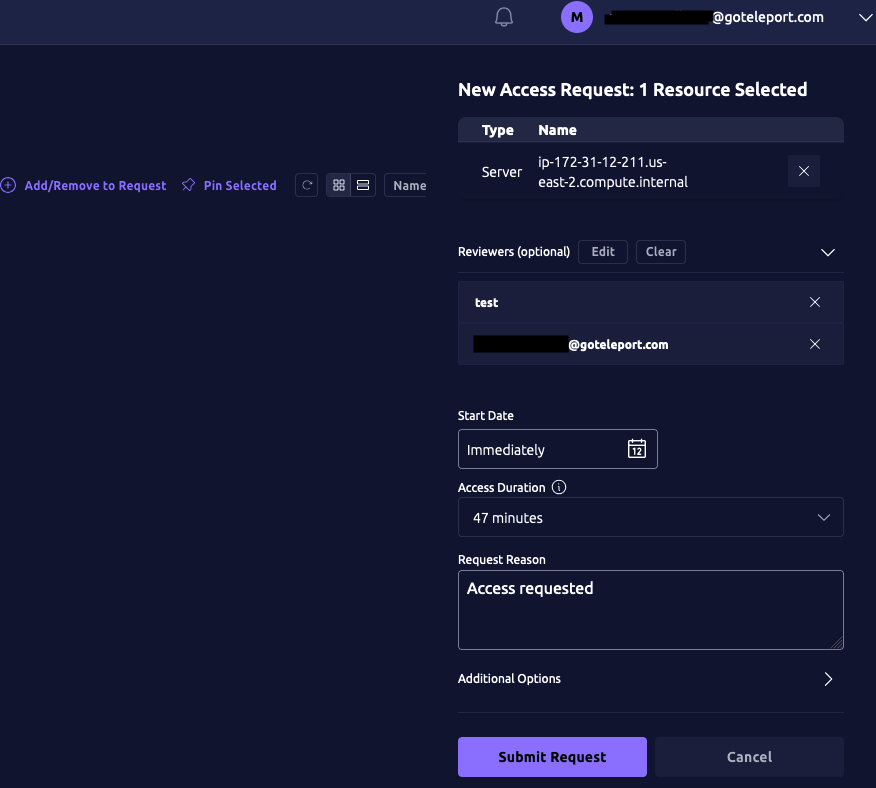
Users can request access using the Web UI by visiting "Identity", clicking "Access Requests" and then "New Request":
In ServiceNow, you will see a new incident containing information about the Access Request.
If the a ServiceNow rotation was specified in the requester's role annotations, then the ServiceNow plugin will check that the requester's username matches the ServiceNow user currently on-call in that rotation and approve the Access Request.
Resolve the request
Once you receive an Access Request message, click the link to visit Teleport and approve or deny the request:
Details
Reviewing from the command line
You can also review an Access Request from the command line:
- As an Admin
- As a User
Replace REQUEST_ID with the id of the request
tctl request approve REQUEST_IDtctl request deny REQUEST_ID
Replace REQUEST_ID with the id of the request
tsh request review --approve REQUEST_IDtsh request review --deny REQUEST_ID